When you have something in mind and can’t find it, whether it’s the color or pattern, here is a great way to create exactly what you want!!!
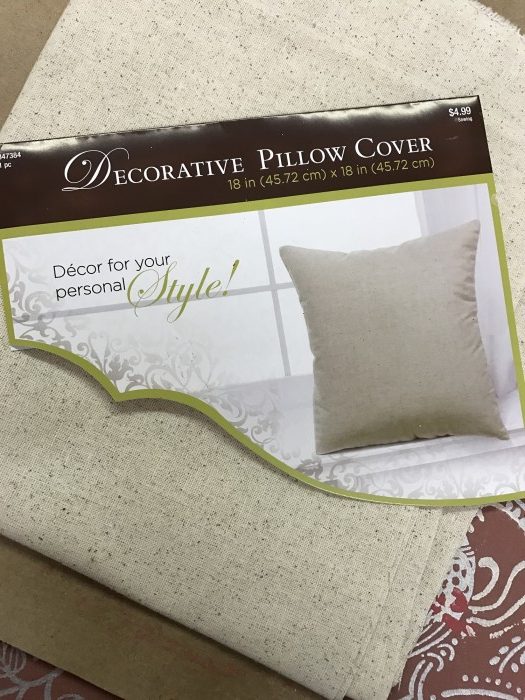
I was looking to add some new pillows to the living room and just couldn’t find exactly what I had in mind, so I decided to create what I wanted!!! One of biggest challenges was finding the pillow covers in the exact size and fabric I liked. I searched online without much luck and then finally went to Hobby Lobby. I did find a nice cotton blank pillow cover which worked out wonderful! I purchased the ones they had in stock, a total of four pillow covers, but didn’t want to play or practice on these. So while I was at Hobby Lobby, I purchased several yards of fabric that was similar to the pillow covers. This is a much cheaper way to experiment and play with ideas and techniques!!!
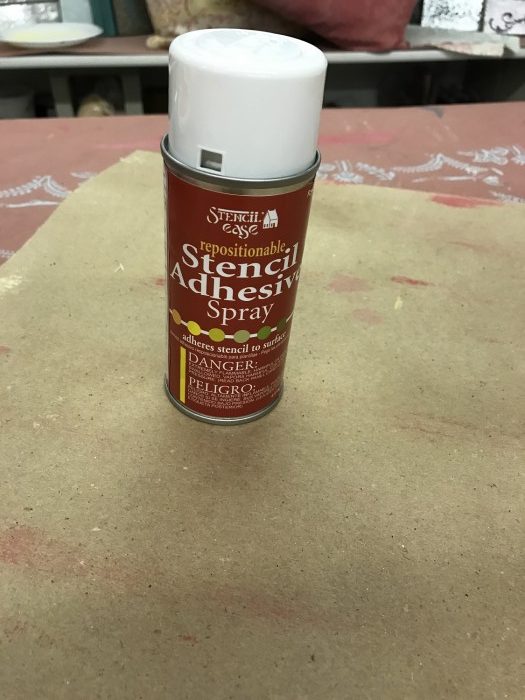
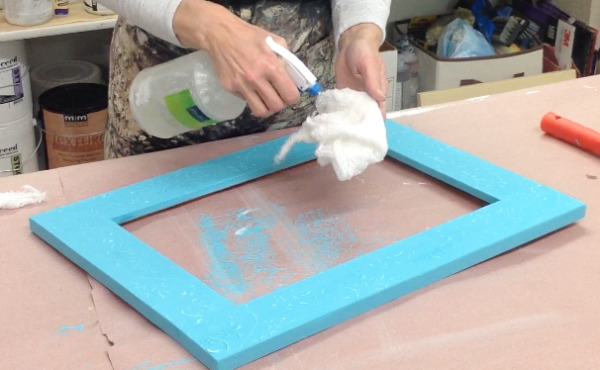
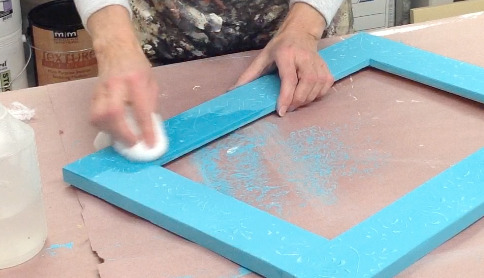
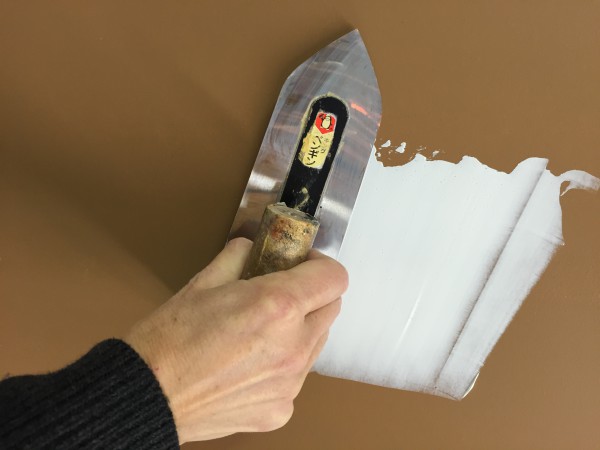
I have been painting on fabric for many years (at least 20) and one of the best things I have discovered with all my painting is a re-positionable spray adhesive! Th best brands I have found are Stencil Ease and Aleene’s. Find some smooth card board and spray one side of it with the spray adhesive. Make sure to do this outside, it is not good for you to breathe!! This will be your working surface for the fabric. Smooth out the fabric onto the “sticky” board, it will hold it in place while you paint. This is fabulous when your fabric doesn’t stretch or pull while painting!!!
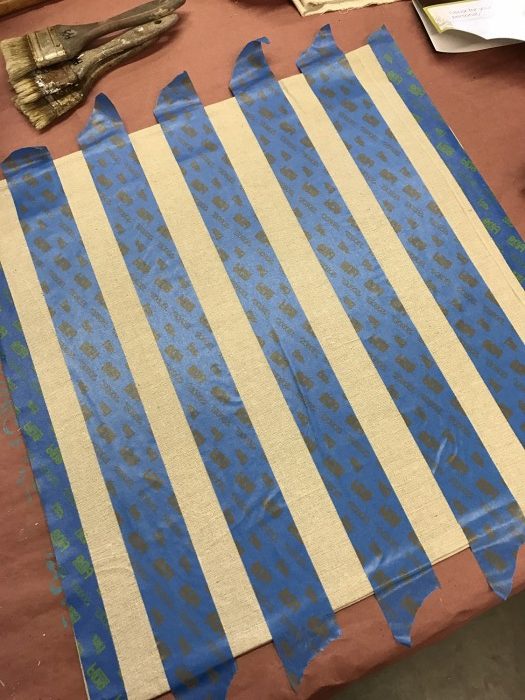
One of the pillows I painted had a striped back ground. Here is an easy technique for measuring with tape. Basic eye-balling, but it works and it is fast!! Apply the first piece of tape in the middle of the pillow and work out to either side. I started with a 1.5″ piece of tape in the middle and then used the 1″ small pieces of tape for measuring. Just position the small piece of tape next to the 1.5″ on either side and then apply the next full piece of 1.5″ tape – this gives you a little over a 1″ space between stripes to paint. Continue the pattern until you have finished the pillow. You can always watch the video if this doesn’t make since. LOL! Remove all the small pieces of tape used for measuring.
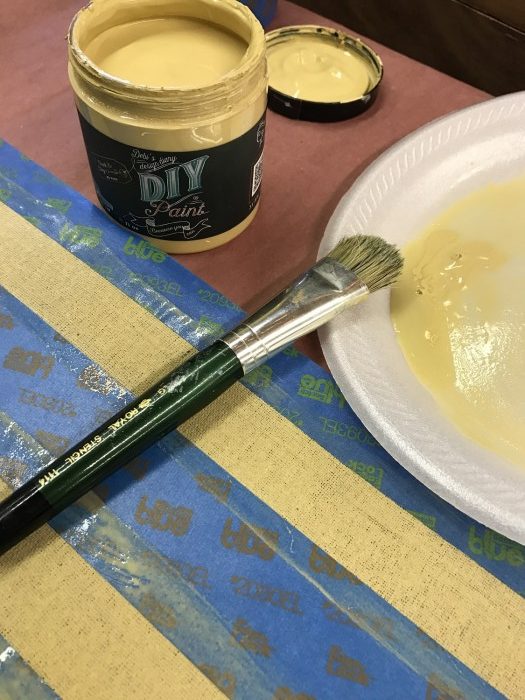
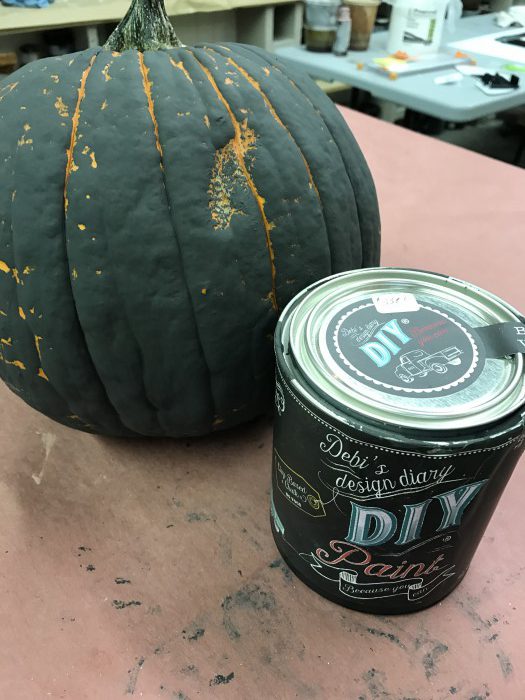
Once the tape is all applied, make sure to rub the edges of the tape to secure it down and make sure no paint bleeds under. This is very important!! I used the Debi’s Design Diary DIY Paint Cake Batter for the stripes. Just water it down a little, this makes it soak into the fabric much easier. Paint in all the stripes with Cake Batter and then remove all the tape and allow to dry.
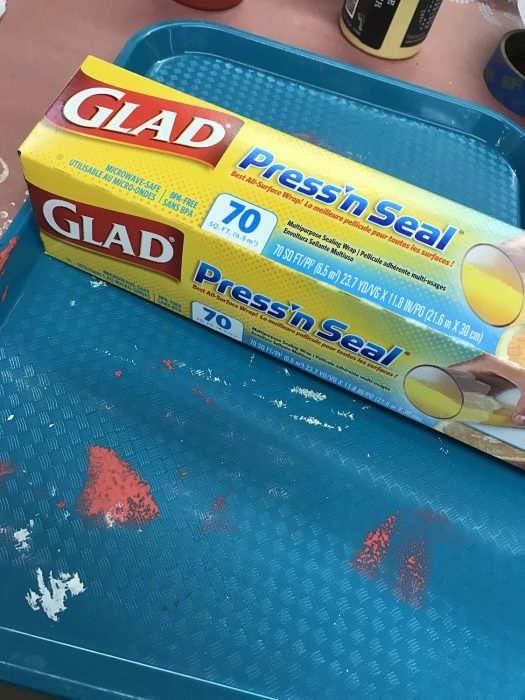
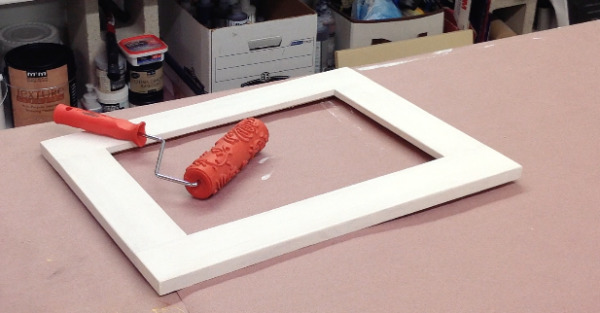
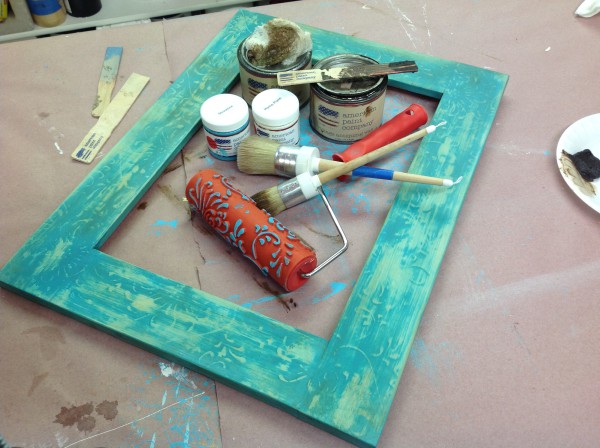
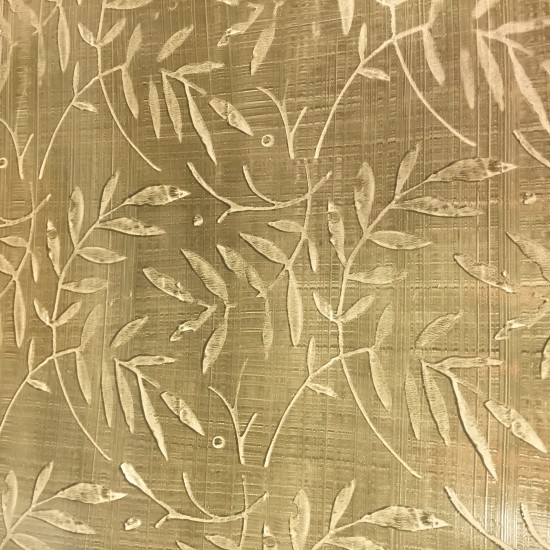
Next you want to load your stamping roller 🙂 The Stamping rollers are so much fun to work with!! Okay, let’s get to loading this thing! First, I like using a serving tray and Press-N-Seal for my paint tray. Works better than regular paint trays for me. Line the serving tray with Press-N-Seal and then pour out some of the paint onto the surface. I used Carnival Red from DIY Paints and added about 10-15% water. We want the paint to soak into the foam applicator. Roll back and forth to load the paint into the foam applicator and/or brush the paint onto the foam. Once the foam applicator is loaded, you will install the pattern roller into the frame, Serenity Damask is the pattern I used. Roll out onto some paper to practice and load the pattern.
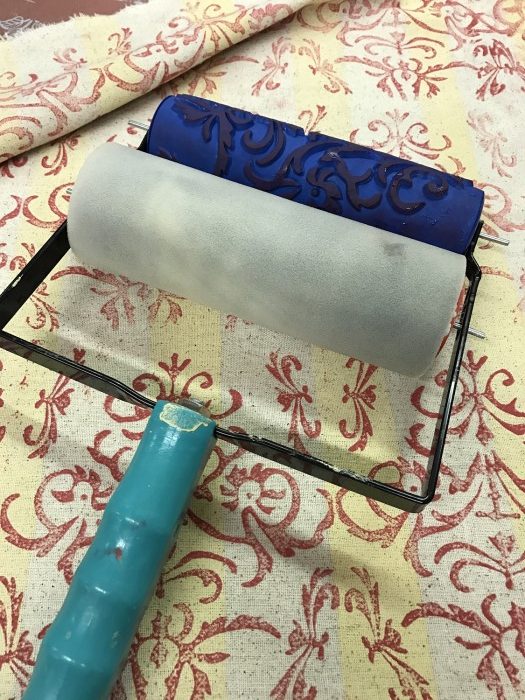
I taped down the edge of the fabric to make sure the roller didn’t pull up the fabric as I was rolling. Just line up one of the edges and roll the pattern onto the fabric. I tried to line up the pattern by starting at the same spot and starting at the same section of the roller design. Allow paint to dry and then place in dryer to “heat set” the paint.
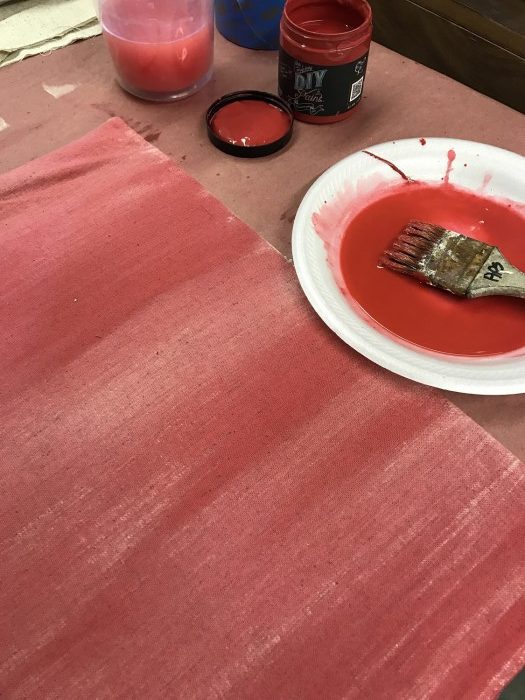
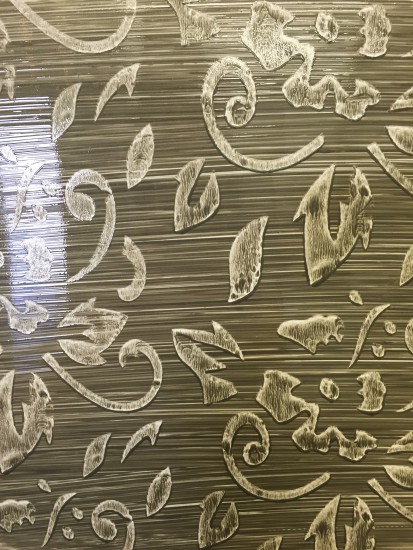
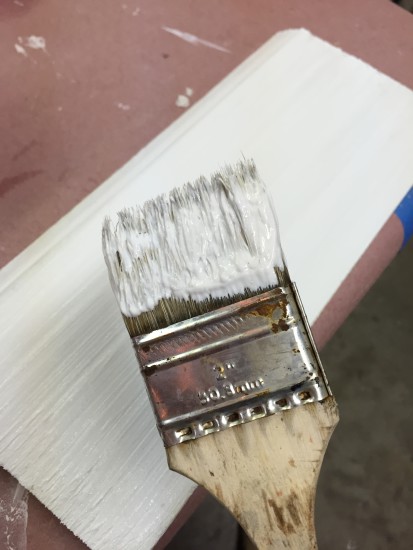
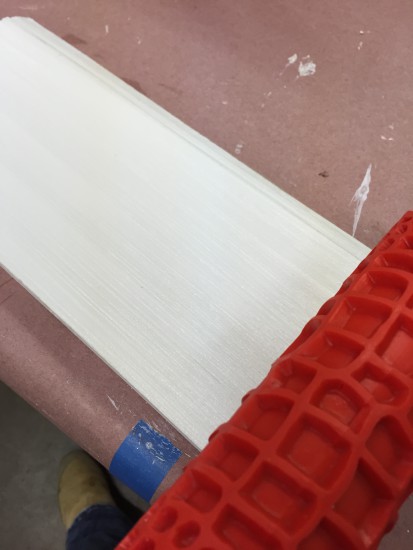
The second pillow I created I decided to paint the back ground with a faded washed style look. Again, use the sprayed card board surface to smooth your fabric onto. I mixed the Carnival Red with more water this time to create more of a “wash” from the paint. Apply with a “stiff” chip brush, so that you can scrub the paint into the fabric. If the paint is too dark, just add water to your brush and scrub back and forth keeping it as straight as possible and allowing the color to be variegated. Allow the fabric to dry.
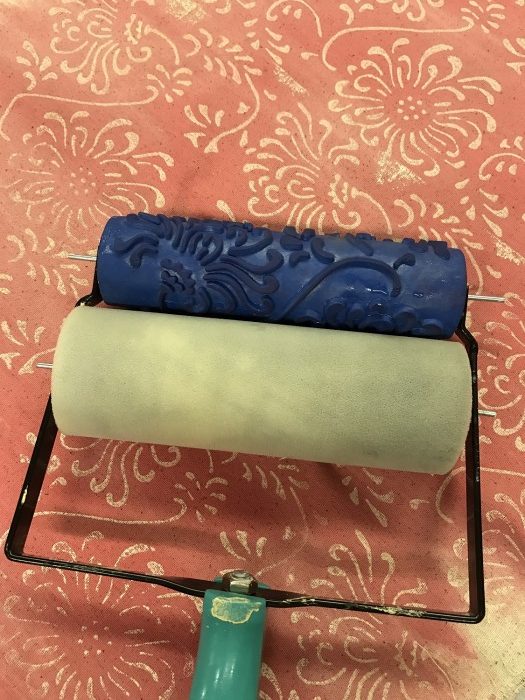
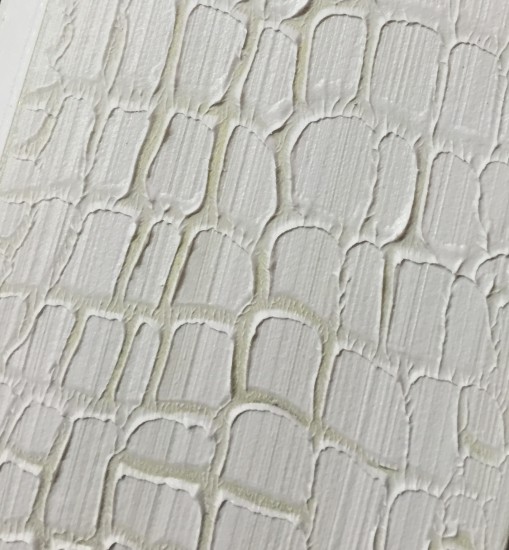
For this pillow I decided to use the Chrysanthemum Stamping Roller and used the Crinoline paint from DIY. Again, you will load the foam roller the same way on the serving tray. Attach the pattern roller and roll out on paper to load the design and practice. Tape fabric to the table so it doesn’t roll up into the roller and roll out the design. Do not push hard, the rubber is really soft and loads easy!!! Allow all the paint to dry and “heat set” in the dryer.
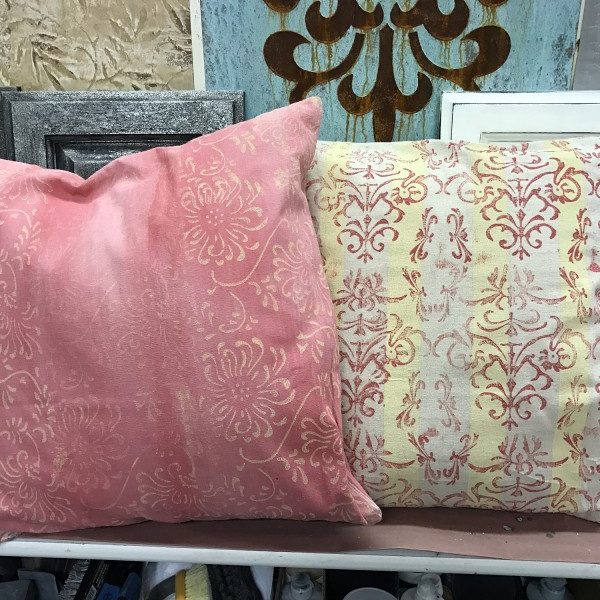
These pillows are a fun example of what you can create! Allow your imagination to run wild! Check out all of the Stamping Roller patterns and see what you can create!
Supplies and Materials needed:
- Fabric to sew your own or Pillow covers – Hobby Lobby
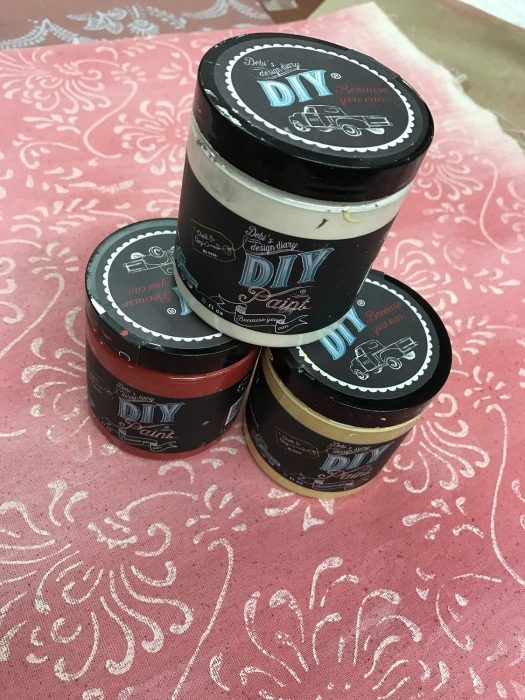
- Debi’s Design Diary DIY Paints – Carnival Red, Cake Batter, Crinoline
- Stamping Rollers – Serenity Damask and Chrysanthemum
- Blue Painters Tape
- Stencil Ease – Repositionable Spray Adhesive (Buy Here)
- Smooth Card Board
I sure hope that you have enjoyed this project! Make sure to check out the Hometalk Live Video on my YouTube Channel and make sure to Subscribe!!!! 🙂
Have a Blessed Day and keep painting!