


I’ve been a distributor for Proceed for the past six years and I am very proud to distribute their product line! If you didn’t know, Proceed is actually manufactured by Golden’s Artist Colors. Golden’s Artist Colors makes a fabulous line of materials for artists!
Well… Golden’s Artist Colors has decided it is time to “re-brand” the entire Proceed line. I completely understand, especially being in business for the last 30 years I have always said that we have to re-invent ourselves every couple of years. We have to stay fresh and on top of our industry especially with the constantly changing trends!

With that being said, Proceed has morphed into Lifestyle Finishes! Most of the products are the same, but names and labels have changed quite a bit. We are still getting used to all the new names and I know it can be confusing to you as customers. So… stick around until the end of this blog post and you can snag the Cheat Sheet I created for you (and me LOL).
We love all of the new names and obviously love the fabulous products that we have depended on for many years. With the “rebranding”, we have been blessed with a few new products as well. We LOVE the new Venetian Plaster, Metallic Slate, and Protective Sealing Wax. I always love new materials to play and create with! Makes a creative girl very HAPPY!!

Did you know we ship worldwide and have a full stock of products at all times?? Yup, we try to never run out of anything!!
If you are interested in learning all about these wonderful products, you will definitely want to join me for a full day of learning, creating and understanding the Lifestyle Finishes line. I will cover each product, what it’s used for and how to use it, you will learn different techniques to apply these products, and you will also learn a couple different finishes to put into practice.
This workshop will be online in a Private Facebook Group. The training will be Live on October 3rd, BUT you can watch anytime if you aren’t available on the 3rd. The videos will be hosted in the Private Facebook Group which will also be a continued learning group for the Lifestyle Finishes Products and Training. So, no matter if you can make the Live date or not, you can be a part of this training and ongoing educational group.
CLASS DETAILS:
Date: October 3rd
Time: 9 AM – 4 PM (We will have an hour lunch break at noon.)
Cost: $29 per person (Such a fabulous deal to receive this type of training and knowledge!)
Early Bird Special Pricing: $25 per person (Sign up by August 31st and save some money!)
SIGNUP HERE
PS: Grab your Proceed to Lifestyle Finishes conversions “Cheat Sheet” here.
 I personally have a ton of stretched canvas (new ones still in the plastic). You just never know when you might need one. And who can pass up a fabulous sale on them, you know what I mean, Hobby Lobby, Michael’s or Aaron Brothers – they just have to tempt us!!!


 You will need:
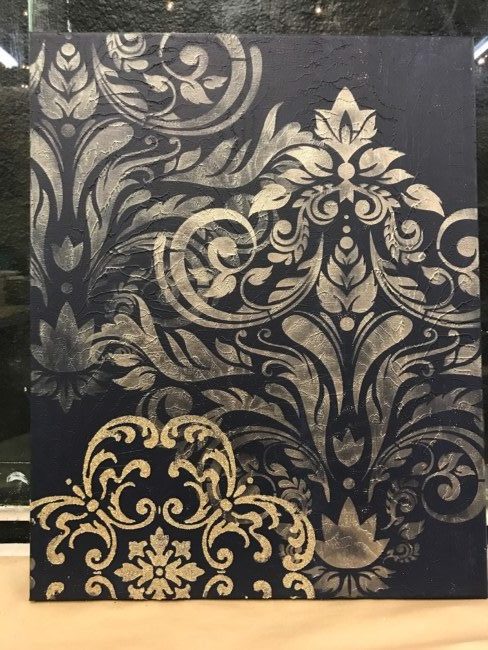
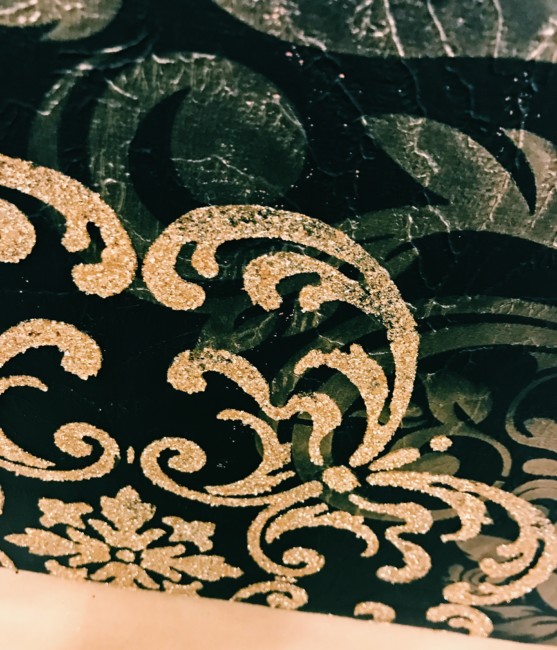
 Wet your stencil brush with paint, then swirl on to a foam plate or palette, then dry it again on paper towel. It might seem like you’re taking all the paint off the brush, but this is what you want to keep the sharp lines of your stencil. Use this dry brush to stipple or pounce the color into the void of your stencil. Stencil brushes are round with a blunt cut and have stiff bristles which is necessary for traditional stenciling technique.


 Start by centering your stencil and taping it down. Using the foil adhesive and a stencil brush, pounce on the adhesive through the stencil. Keep the brush rather dry so the adhesive will not bleed under the stencil. Stipple the foil adhesive over the stencil twice to make sure it has good coverage.
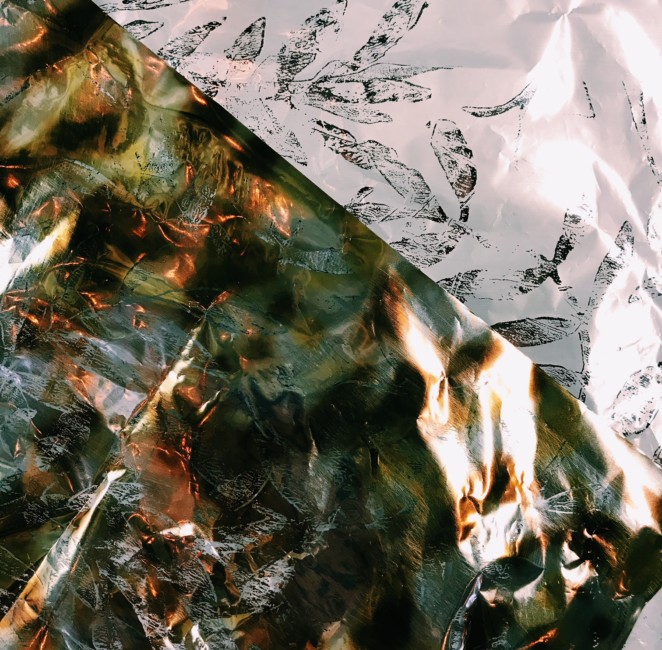
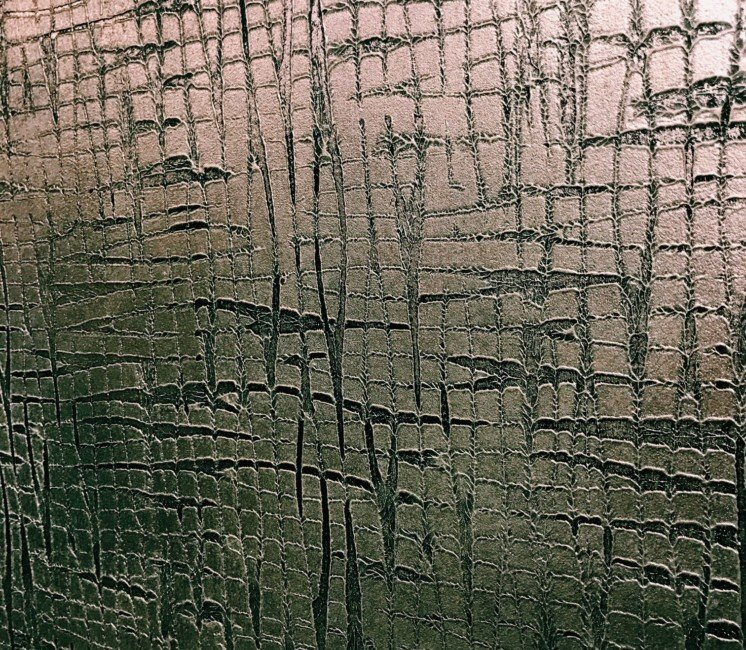
 Once your adhesive has had enough time to dry, use scissors to cut your foil to size. With the metallization on the back, lay the foil over your project. Using a soft cloth, rub the foil and then pull back just a part to take a peek at your work.
 If you want to transfer a lot of foil, use a scrubber brush. You can control how much foil is transferred by varying the pressure you use on the brush. Once you’re happy with the amount of transfer, peel off the film. Top coats are a must when foils have been used to protect the finish and cover any adhesive that hasn’t adhered to foil.


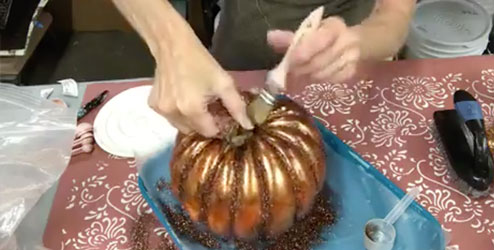
 Start with ArtsSyVille Foil Adhesive and coat your pumpkin while holding the stem. I prefer using an Art Wash Brush for this step. You want an even coat, not too thick, but not too thin. The foil adhesive will go on with a milky white color, but it will dry completely clear. I set my pumpkin on top of an open bucket to allow it to dry so the least amount of surface was touching the bucket. You want it to dry to a firm tack, this could take anywhere from 30 minutes to a couple hours, depending on the humidity where you live. You can even allow it to dry overnight, there’s no risk of waiting too long. Foil Adhesive is water soluble, very easy clean up.
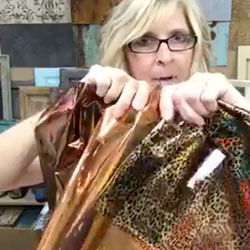
 Instead of laying the foil on the surface of the pumpkin, I bunched up the foil, being sure that all the film is on the inside so no film will adhere to the pumpkin, and pounced it on the surface of the pumpkin. This gives the pumpkin a nice textured appearance. As you’re doing this and the foil is being pulled off the film, open the bunched up foil and find a new section to use. You might need to use a couple pieces of foil. Once you’ve pounced the foil around the whole pumpkin, switch to the next color. This method is not going to give complete coverage, but it will give a great dappled texture.


 On the second pumpkin I used Seafoam and Rose Gold foils. I cut pieces of the Seafoam foil, approximately 8” lenghts. I needed five of these pieces to cover my medium sized pumpkin.


