I have to say a BIG Thank You to my client – if it wasn’t for her idea, I wouldn’t have had the opportunity to paint this incredible project. Recently, Ruth Masters was referred to me for a project that she had been wanting to do for many years – she just hadn’t figured out exactly what she wanted in this space. One day, surfing on the web – she ran across a project that was featured with a painting of Peacock feathers on the ceiling. Ruth knew at that moment it was exactly what she wanted – now to find the artist to execute the idea.

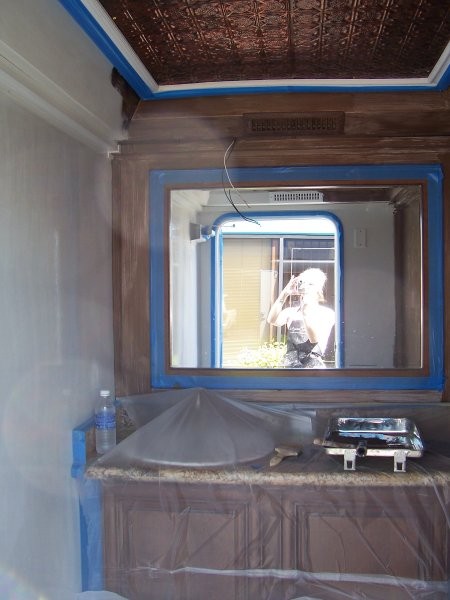
I met with Ruth and she provided me with several pictures from the web site – we talked about colors for the feathers and then it was up to me to see if it was a possible project. The area she wanted them painted in was a very high octagon sky light – approximately 22′ to the top!

I called a fellow artist friend of mine, Penny Ray to assist with this project – she meet me at the clients house to see if we could get a scaffold rig into her kitchen, over the island and up high enough to accomplish the work…….with very careful measuring – we decided we could do it!

Even though we did all that careful measuring – the day we installed the scaffold rig – we discovered we were off just a little……..but, we made it work! Our first day was installing the rig and then using an overhead projector to project the images that had been drawn onto the walls………..now this was an area that started at 10′ and went up another 12′ or so……..it took the entire day to transfer all the drawings. We carefully placed each peacock feather to create a wonderful composition in the octagon area.

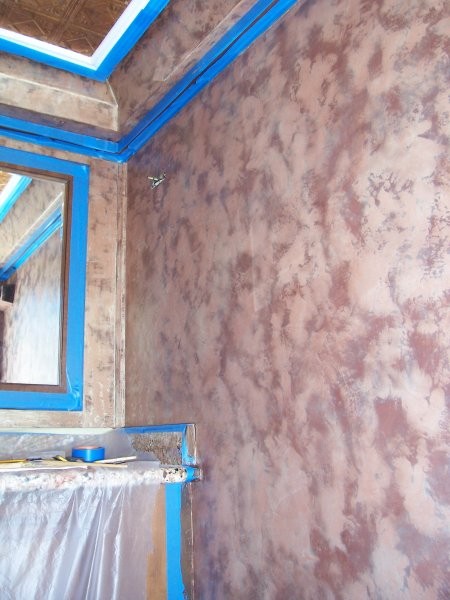
Day two and three was a lot of painting and moving the levels of the scaffold rig to accomplish the many heights we had to work at. Day four – we needed to completely remove one of the levels of the scaffold rig and try to finish all the painting. Penny and I are a pretty good team – only one cut finger, a few bruises and sore muscles – we accomplished our deadline. The entire project took four days including installing and tear-down of the scaffold rig……..we painted a lot of hours each day! Most of the painting was accomplished with Americana Acrylic paints – regular and metallics – I also used Faux Effects newest metallics – SuperHide Copper (love this product).

Many thanks again to Ruth – thanks for providing me with such a fun project!!! Looking forward to the next one…….I think I will be painting Parrots and Palm Trees!!!