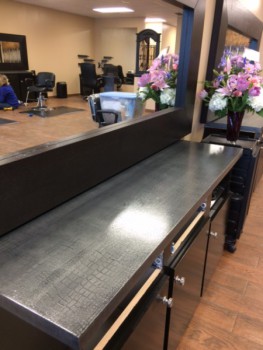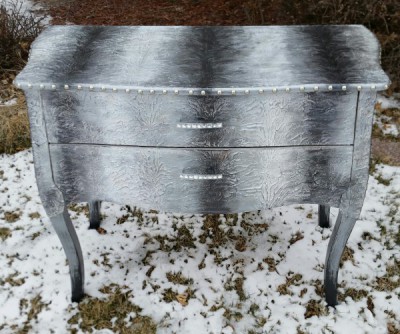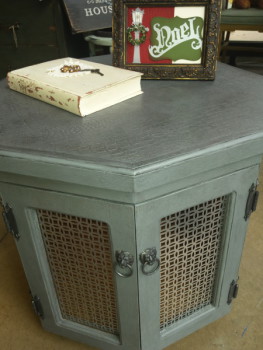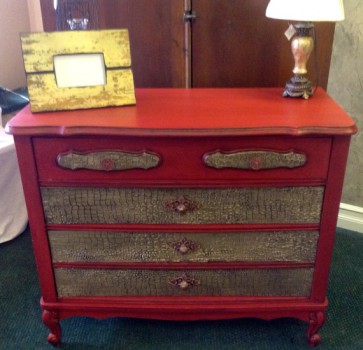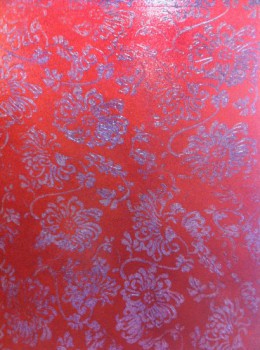
So here is the picture of the Hutch that I’m working on – this is the before picture. The drawers were never painted, but someone has a love with “Pledge” and I felt it was best to sand it all off – paint and all!!!
Here are my drawers all nice and sanded – ready for a fabulous Hammered Metal Finish!!!
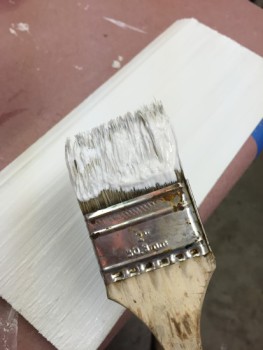
So let’s get started with my favorite primer XIM Bonding Primer – one layer should do the job and then allow to dry.
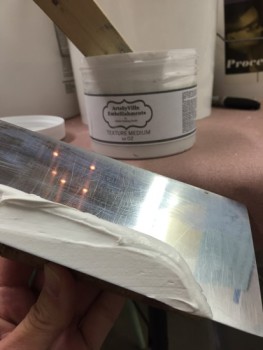
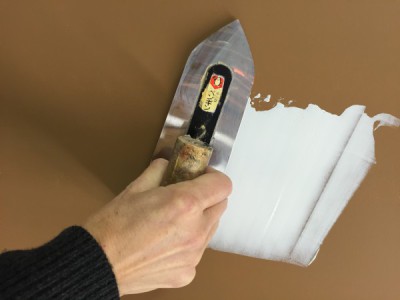
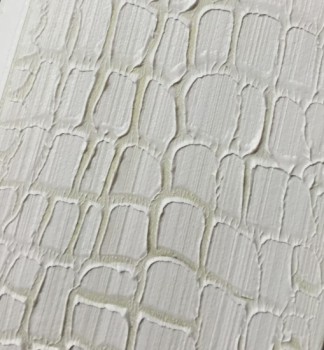
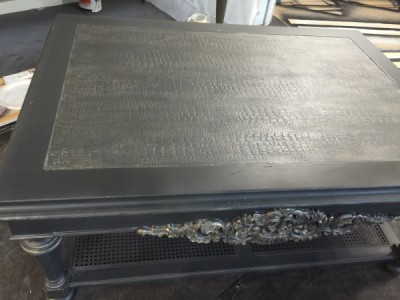
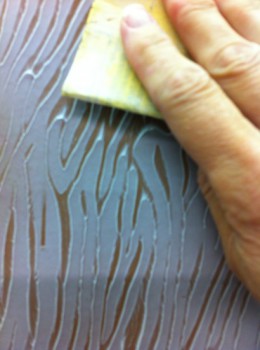
Next, I taped off the center raised panel and was ready for the next step. I applied a thin layer of my ArtsSyVille Embellishments Texture Medium – you only need it to be about 1/8″ to 1/16″ thick – just enough to get the print of the roller. I used a trowel to apply the medium, but you can use a hotel room key, styrene applicator, putty knife, or anything that you can get the product onto the surface.
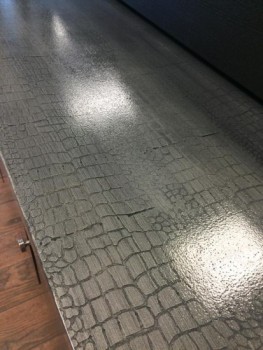
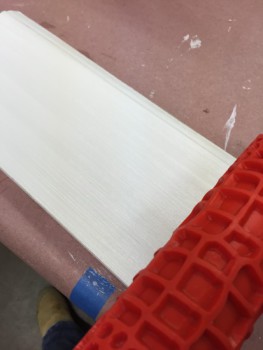
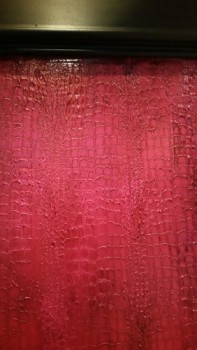
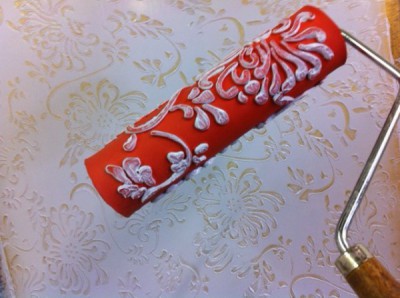
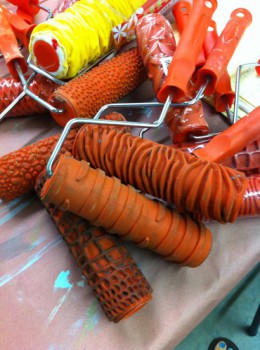
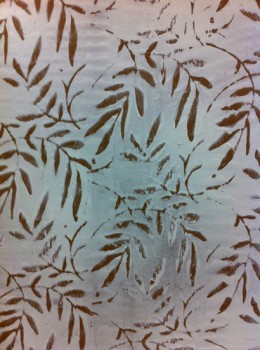
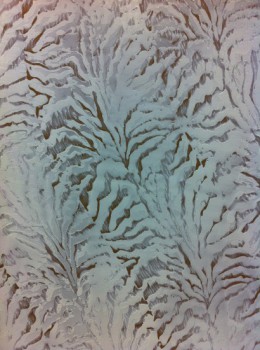
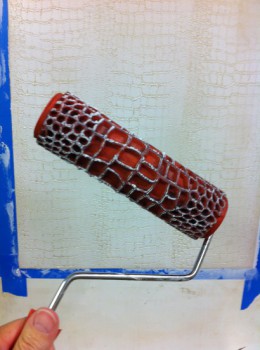
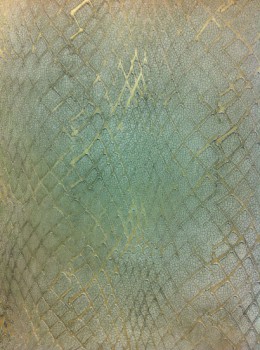
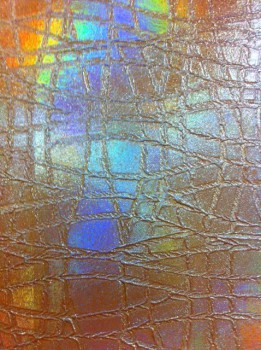
While the Texture Medium is wet – you need to roll through it with the Fauxy Roller Ostrich Pattern. I rolled through twice to get a pitted/hammered metal look – allow the texture to dry (this can take several hours – but make sure it is completely dry).
Once the texture has dried – you will want to sand down the high peaks – I used 150 grit sandpaper. Remove the tape and clean up the edges if necessary. Wipe down to remove all the dust and make sure the surface is clean.
The next step is to paint the surface with Modern Masters Antique Copper Metallic Paint – I applied two layers allowing each layer to dry in between. Metallics can be a little soft – so it’s best to allow the paint to dry overnight before applying the glaze layer.
Next we are going to create a glaze – I used Modern Masters Wall Glaze and Modern Masters Glazing Colors Van Dyke Brown. My favorite recipe is 1 cup of glaze to 3 tbls of Van Dyke Brown – this creates a nice balanced glaze.
Apply the glaze over the painted surface – 100% coverage and then use Cheesecloth to remove the excess glaze leaving behind enough to get into the details of the wood and texture. You can remove as much of the glaze as you would like or leave as much behind – it’s a personal thing.
Allow the glaze to dry overnight (at least) glaze can take a good 24 hours to dry completely. Then make sure to apply at least several layers of Top Coat to protect the finish.
Supplies used for this project:
XIM Bonding Primer (Buy Here)
ArtsSyVille Embellishments – Texture Medium
Fauxy Rollers – Ostrich Skin Roller
Sandpaper 150 to 220 grit
Modern Masters Metallic Paint – Antique Copper
Modern Masters Glazing Colors – Van Dyke Brown
Application tool – Trowel, room key, putty knife, etc.
Top coat of your choice
Hope that you enjoyed this project!
Blessings,


 You will need:
 Wet your stencil brush with paint, then swirl on to a foam plate or palette, then dry it again on paper towel. It might seem like you’re taking all the paint off the brush, but this is what you want to keep the sharp lines of your stencil. Use this dry brush to stipple or pounce the color into the void of your stencil. Stencil brushes are round with a blunt cut and have stiff bristles which is necessary for traditional stenciling technique.


 Start by centering your stencil and taping it down. Using the foil adhesive and a stencil brush, pounce on the adhesive through the stencil. Keep the brush rather dry so the adhesive will not bleed under the stencil. Stipple the foil adhesive over the stencil twice to make sure it has good coverage.
 Once your adhesive has had enough time to dry, use scissors to cut your foil to size. With the metallization on the back, lay the foil over your project. Using a soft cloth, rub the foil and then pull back just a part to take a peek at your work.
 If you want to transfer a lot of foil, use a scrubber brush. You can control how much foil is transferred by varying the pressure you use on the brush. Once you’re happy with the amount of transfer, peel off the film. Top coats are a must when foils have been used to protect the finish and cover any adhesive that hasn’t adhered to foil.

