Here is the story behind my “new” dining room table. This table has been in my family for about 60 years!!! My parents bought this table shortly after they were married and I grew up at this table, enjoying some fabulous meals, as well as some tough meals that I didn’t think were so fabulous (sorry Mom!). I was a picky eater and just didn’t like a lot of food growing up, so some of those meals were not my favorite. HAHA!
But there are some great memories with this table for me and I’m so glad that my Mom finally let me have it. It took her a couple years to part ways with it and give it to me, but she finally did!
It is a solid oak table and really heavy, so the boys have done all the moving. I started my process with the help of Hunter, getting this heavy thing moved out to the alley for a good sanding and clean-up! I will have to admit, as I started sanding the top of the table I decided to leave some of the marks/memories. Most of these were created by my sister and me, and with my sister already gone, I decided that our marks/scratches/memories were going to remain. This way when someone makes a new one, it will just fit in with all the history of the table.
While growing up, the table was usually in the 54″ round. I sure don’t remember using the leafs too many times, but with my large family, I decided to max the area the table would be and add as many leaves as possible. This table is rather large, but it is nice to have room for everyone and then some!!
As always, this baby was primed with my favorite primer, XIM Bonding Primer. One full coat on all sections of the table, leaves, and base.

At first, I thought I was going to use two different colors and blend as I was painting, but I have to admit I didn’t like the way it was coming out. So I just mixed the two colors together and created a custom color. The colors I used are from the DIY Paint collection: Weathered Wood and Black Velvet (approximately 70/30). This custom color was painted on all sections with two complete coats.

Once the base painting was complete, it was time to have some fun with one of my newest stencils: Passionate Paisley. I wanted the stenciling to be somewhat faded and uneven, a little more old and worn look. This was accomplished with the DIY Paint Black Velvet and one of my 1″ Stencil brushes. I also used some Extender to keep the paint moving smoothly. I tried to keep an uneven hand, which is harder than it sounds when using the DIY Paint because it dries lighter, so it was hard to determine if I had enough color or not until it was dry.

I also ordered a couple of custom stencil Bible Verses for the “skirt” of the table. I had enough room to have two different verses created, one on each end. “Say What Stencils” created these for me, so that I could choose the font style and size I was needing for this specific project. This makes lettering way easier than writing something out letter by letter. I used American DecoArt Acrylic Paints Ion Laguna for the Bible Verses.

These stencils are a little different to work with because they are a one-time-use stencil. They are cut out of masking material and the vinyl stencil is sandwiched between a backing and a clear vinyl material. It’s best to watch my video for complete detailed instructions on how to install these. But you basically tape it into position, remove the backing material, smooth down onto your surface area and then very carefully remove the top clear vinyl leaving the stencil in position to paint. Just watch the video below for a complete walk-through on this!
The base of the table was painted in Black Velvet for a slight contrast to the table top, then I applied several layers of top coat to protect all of the stenciling and color. I used the Final Coat Low-Gloss and did about 8 to 10 layers, I lost count!! This is an easy-to-use wipe-on varnish that is hard and durable. The more layers the more durable it becomes and this is a dining room table that is used every day for several meals, so I wanted to make sure it would hold up.

This table was such a fun project for me and I am so glad I get to sit at a piece of history with so many memories each day! Can’t wait for the next family piece I get to do next!
List of Materials:


 You will need:
 Wet your stencil brush with paint, then swirl on to a foam plate or palette, then dry it again on paper towel. It might seem like you’re taking all the paint off the brush, but this is what you want to keep the sharp lines of your stencil. Use this dry brush to stipple or pounce the color into the void of your stencil. Stencil brushes are round with a blunt cut and have stiff bristles which is necessary for traditional stenciling technique.


 Start by centering your stencil and taping it down. Using the foil adhesive and a stencil brush, pounce on the adhesive through the stencil. Keep the brush rather dry so the adhesive will not bleed under the stencil. Stipple the foil adhesive over the stencil twice to make sure it has good coverage.
 Once your adhesive has had enough time to dry, use scissors to cut your foil to size. With the metallization on the back, lay the foil over your project. Using a soft cloth, rub the foil and then pull back just a part to take a peek at your work.
 If you want to transfer a lot of foil, use a scrubber brush. You can control how much foil is transferred by varying the pressure you use on the brush. Once you’re happy with the amount of transfer, peel off the film. Top coats are a must when foils have been used to protect the finish and cover any adhesive that hasn’t adhered to foil.


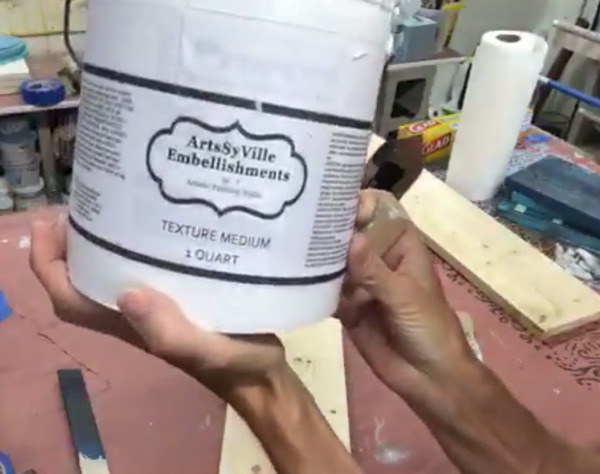
 Once you have the texture medium covering your board, use your trowel to remove excess product to get it down smooth. Clean up the edges, I just use my finger to do this, and then you’re ready to roll.
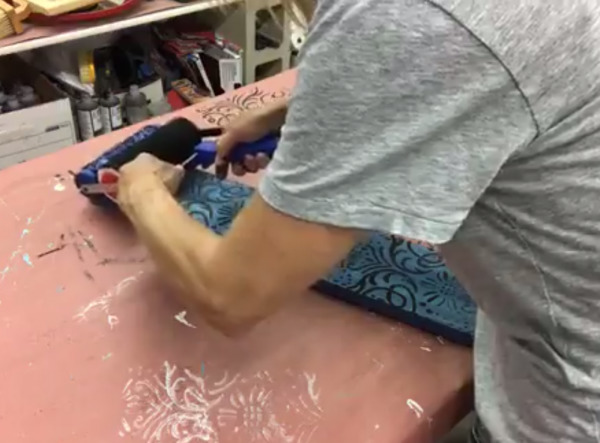
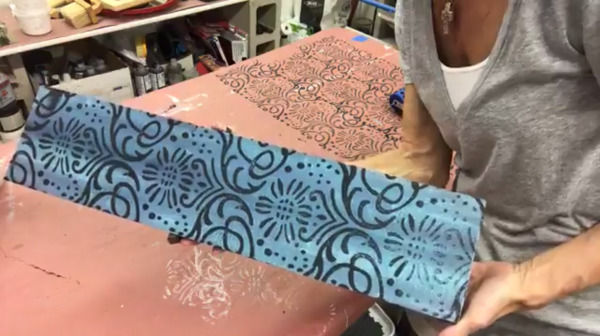
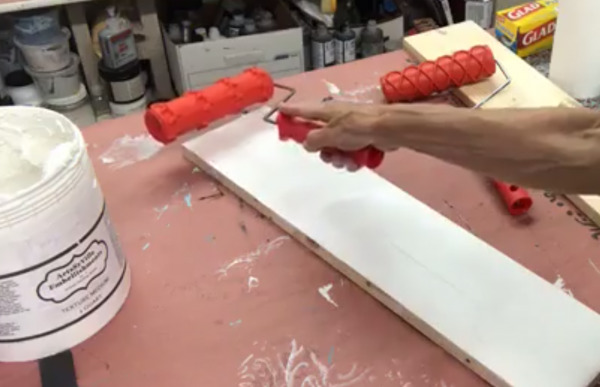 I’m using the “Between the Vines” roller on one of my boards. Just roll your chosen stamping roller down the project, slow and steady. If you aren’t happy with the first try, trowel it out and do it again! I centered three of the vines on the “Between the Vines” stamp across the length of the board and then rolled it again through the width to create a box pattern. I just eyeballed the spacing, but I think it turned out pretty great!
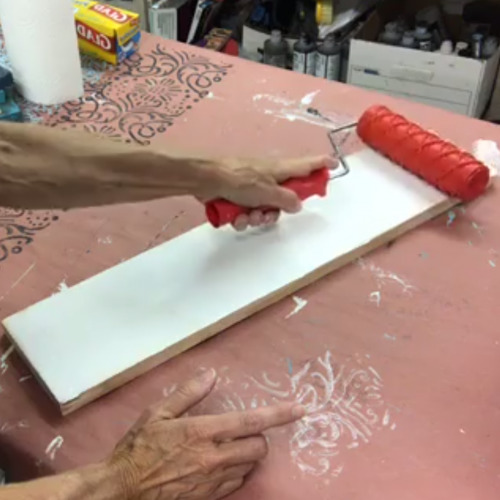
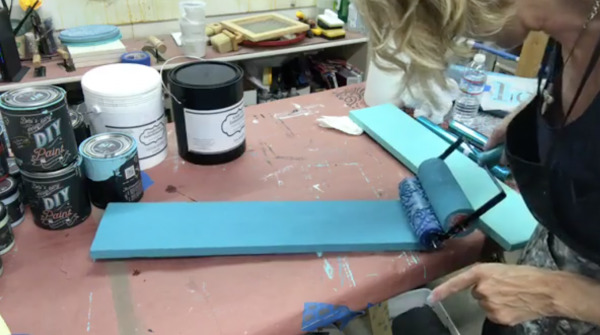 When the texture medium on the board with the diamond shape was dry and sanded down, I painted it, then I added a little more interest with a stamping roller. I used Debi’s DIY Paints in Seaglass with a Chrysanthemum pattern roller.
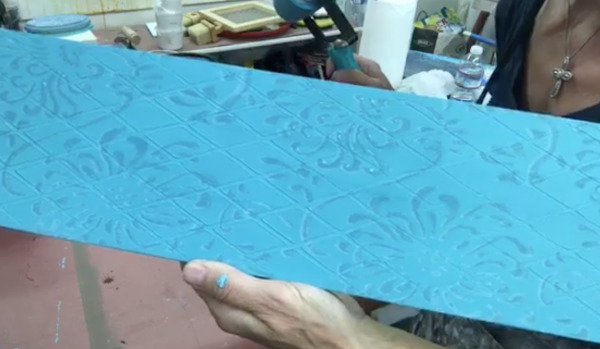
 Cover the edges and front of your board in a single color. I like using Art Wash brushes for this because they pull and push the paint easily, allowing the finish to come together smoothly, even over the uneven surface of the wood. Allow this coat of paint to dry. The two base colors I have chosen are Hey Sailor and Mermaid Tail.
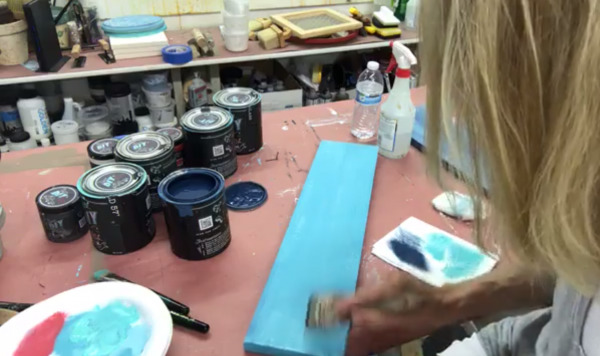 Start by dipping your brush in the paint and then swirl the paint on to a palette or foam plate. Really work it in. Then rub the brush on a paper towel. You want to make sure it’s dry. Now you can start working the paint over the surface of your piece. Dry brushing is just meant to “highlight” the surface and create depth/texture. I’ve used a combination of three colors on top of the background during this dry brushing stage. I chose colors in the blue family, but also a warm red, which when mixed with the background color creates a nice purple tone.
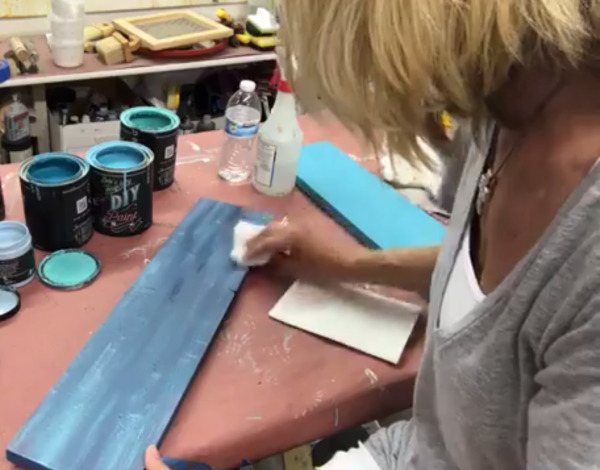
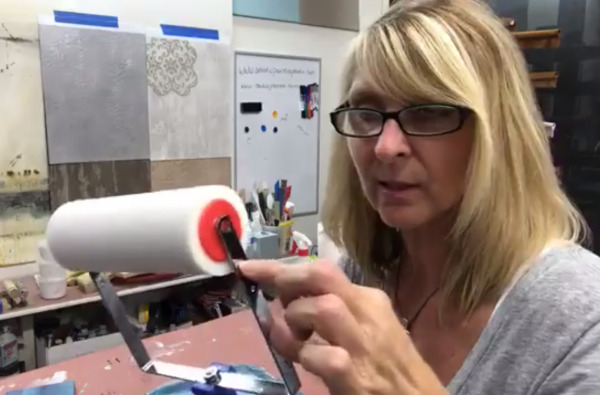 I keep the foam roller in the outermost holes while loading, moving it back when I’m ready to add the pattern roller. When your foam roller is ready to go, move it to the inner set of holes so your pattern stamp can be placed on the outside. Give the pattern roller a few rolls on a clean sheet of paper to transfer the paint to the design. Now you’re ready to carefully roll your design across the plank. I chose colors that create a tone-on-tone feel for the background of my signs. Nothing with too much contrast so it doesn’t take away from the words which I will stencil on later.